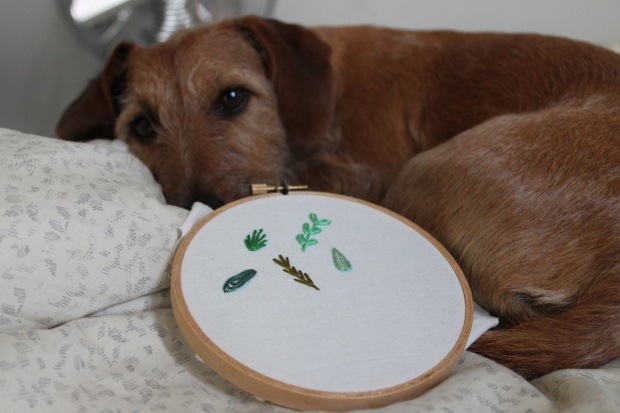
Well, Lee and I are at the end of our stitching leaves tutorials for this round. This last one is definitely the most requested tutorial I have had so far. It’s the satin stitch leaf that I use around most of my roses. You can see it used here in the Home Sweet Home hoop.
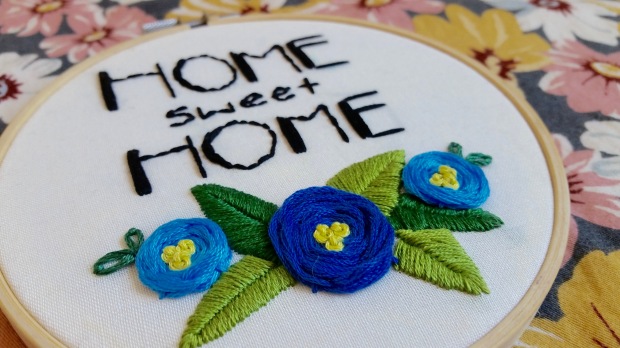
This hoop and it’s pattern are available in my Etsy store, just click here. The tutorials for the flowers and lazy daisy leaves are already available on my blog, so if you want to stitch one up for yourself you should be able to achieve some awesome stitching using this pattern. So, let’s get started!
Satin Stitch Leaf
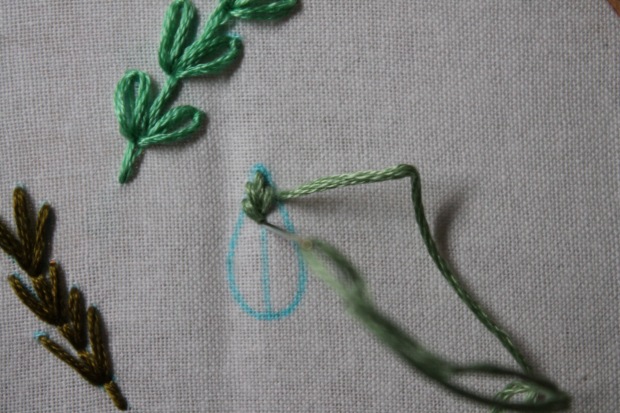
A note before beginning: your first three stitches will determine the angle of the satin stitches throughout the entire leaf. It doesn’t really matter how large or small you make these stitches, but play around with some different sized first stitches so that you can see the different angles.
See above in my hoop the bottom left leaf the angle of stitches is much straighter than the leaf at the bottom right. This is because on the bottom left leaf I started with a shorter stitch length on the first three stitches.
My personal rule of thumb – I make the first stitch the same length as the distance between the outer and centre line at the widest part i.e. half the length of the thickest part of the leaf.
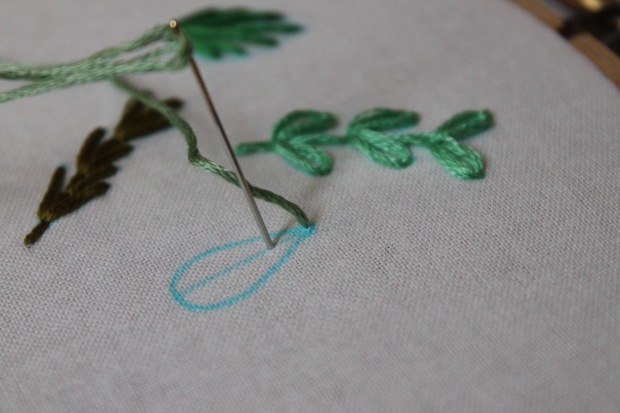
Your line drawing is a tear drop with a line through the centre. Unlike the Lazy Daisy Single Leaf, the ‘top’ of this leaf is the point. So you’ll start at the top point and bring a stitch down however long you have determined.
Your next two stitches will start directly next to the top of first stitch but end in the same hole as the bottom of the first stitch.
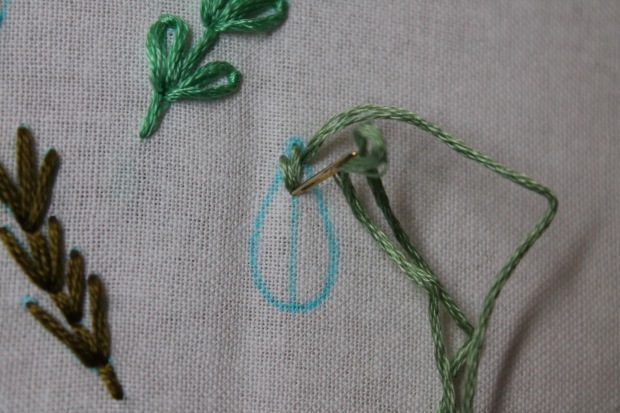
Now you work in pairs all the way down the leaf. These stitches start directly next to the top of the last two and end in a new hole directly under the last stitches. Basically, you’re just embroidering V’s really close together.
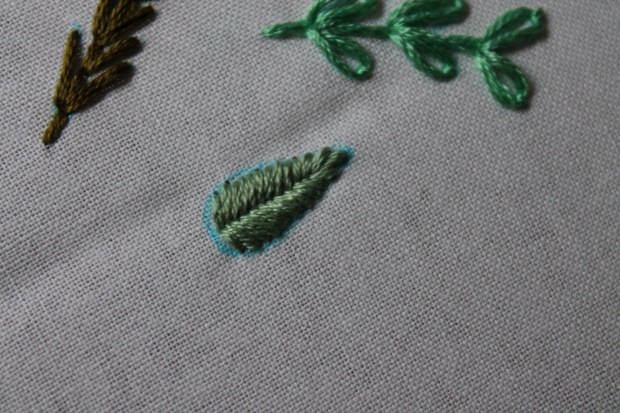
I find it easiest to stitch left, right, left, right and remembering that each pair will go into the same bottom hole. Once you’ve done all those V’s it will look a little something like this.
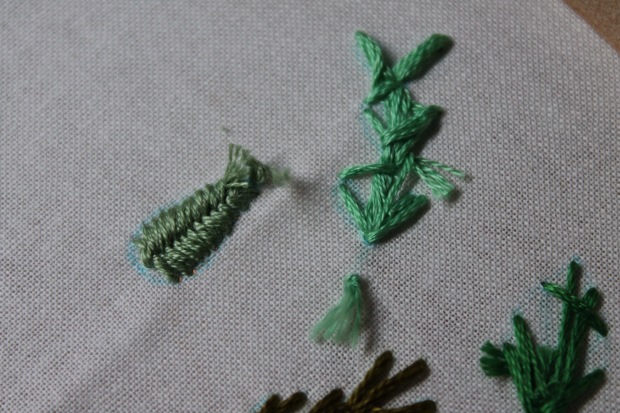
The back will look super neat too, I just tuck the tail under the stitches and snip!
Has the leaf series been useful to you? Any other leaves you’ve seen around and want to learn? Let me know in the comments!

Please make video tutorials!
LikeLike
I’m certainly thinking about it, I’ll have to research a little about how to do it, I have no experience with making videos! xo
LikeLike